How to Blanch Broccoli
Leave behind the days of buying broccoli and then throwing it away days later because it went bad in the vegetable drawer. Here is how to prep raw broccoli ahead of time, so it’s ready to add to your dinner any time. Broccoli is a great vegetable that's easy to prepare and has a mild flavor. This is a handy meal prep method that lightly cooks and softens the broccoli so it's ready to saute’ for a meal later.
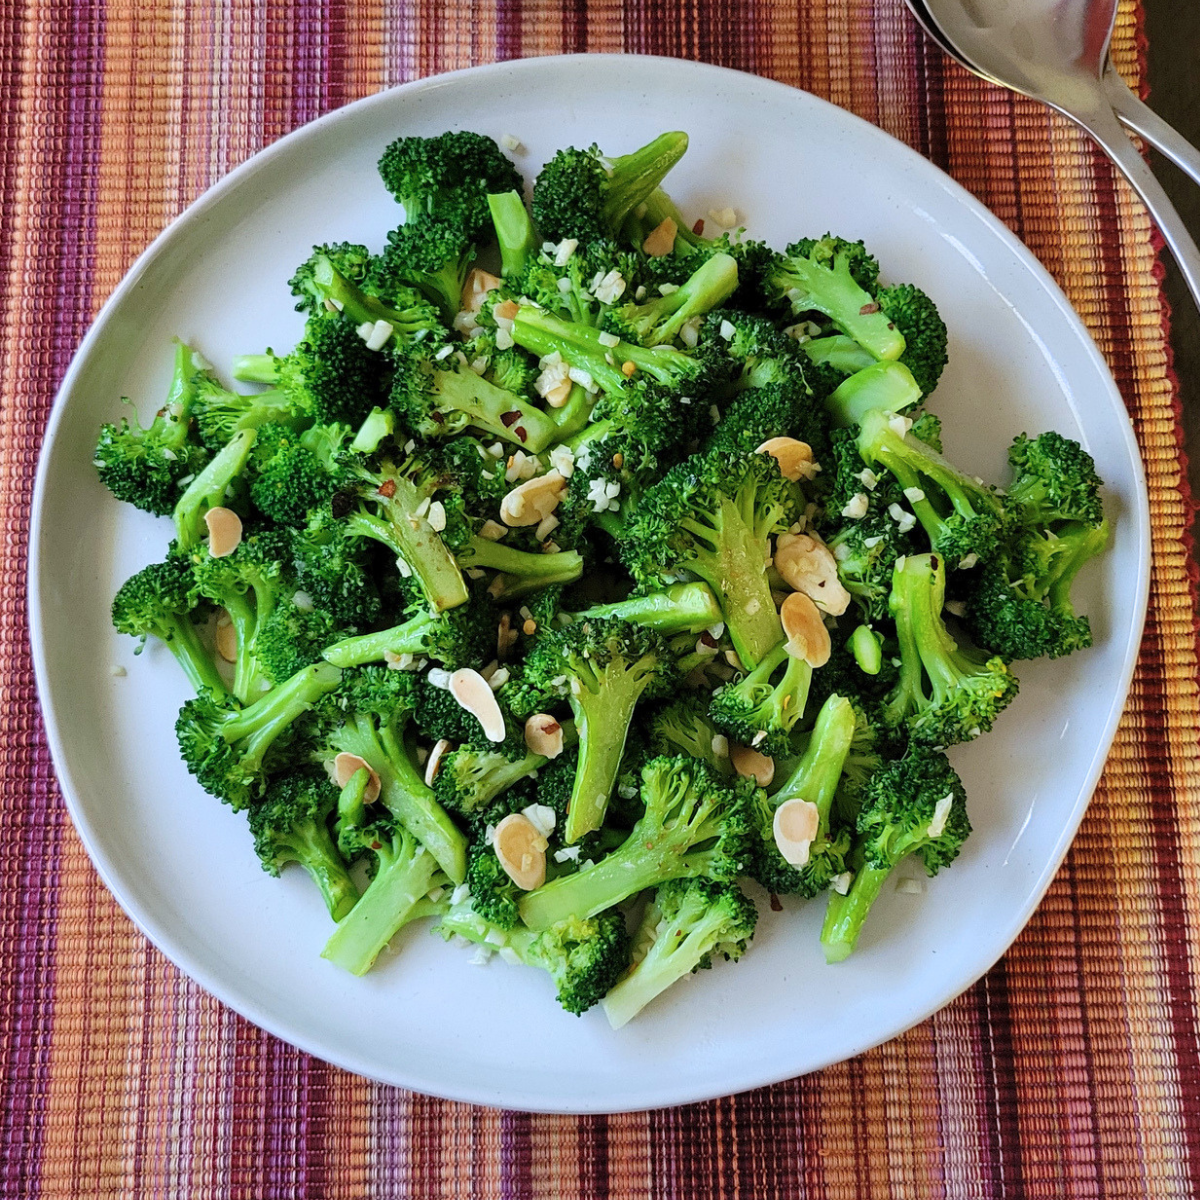
Broccoli is a popular vegetable in that it is pretty easy to prepare and has a mild flavor. But there are many people who are not sure how to cook broccoli. My go-to preparation is a two-step method that starts with quickly blanching it in boiling water, this helps to soften the florets and makes them turn a brilliant bright green color. Then after draining, I add the broccoli to a saute pan with some olive oil, minced garlic and salt and do a very short saute to complete the cooking process and create more flavor. I show you how to do both below.
When choosing broccoli in the store, look for a nice even green color with no blemishes or yellow spots. The broccoli stem should feel firm, soft stems or limp florets are a sign the vegetable is getting old. Store broccoli in the crisper drawer of the fridge until you are ready to use it, but I find it is always best if you cook it the same day.
What is Blanching
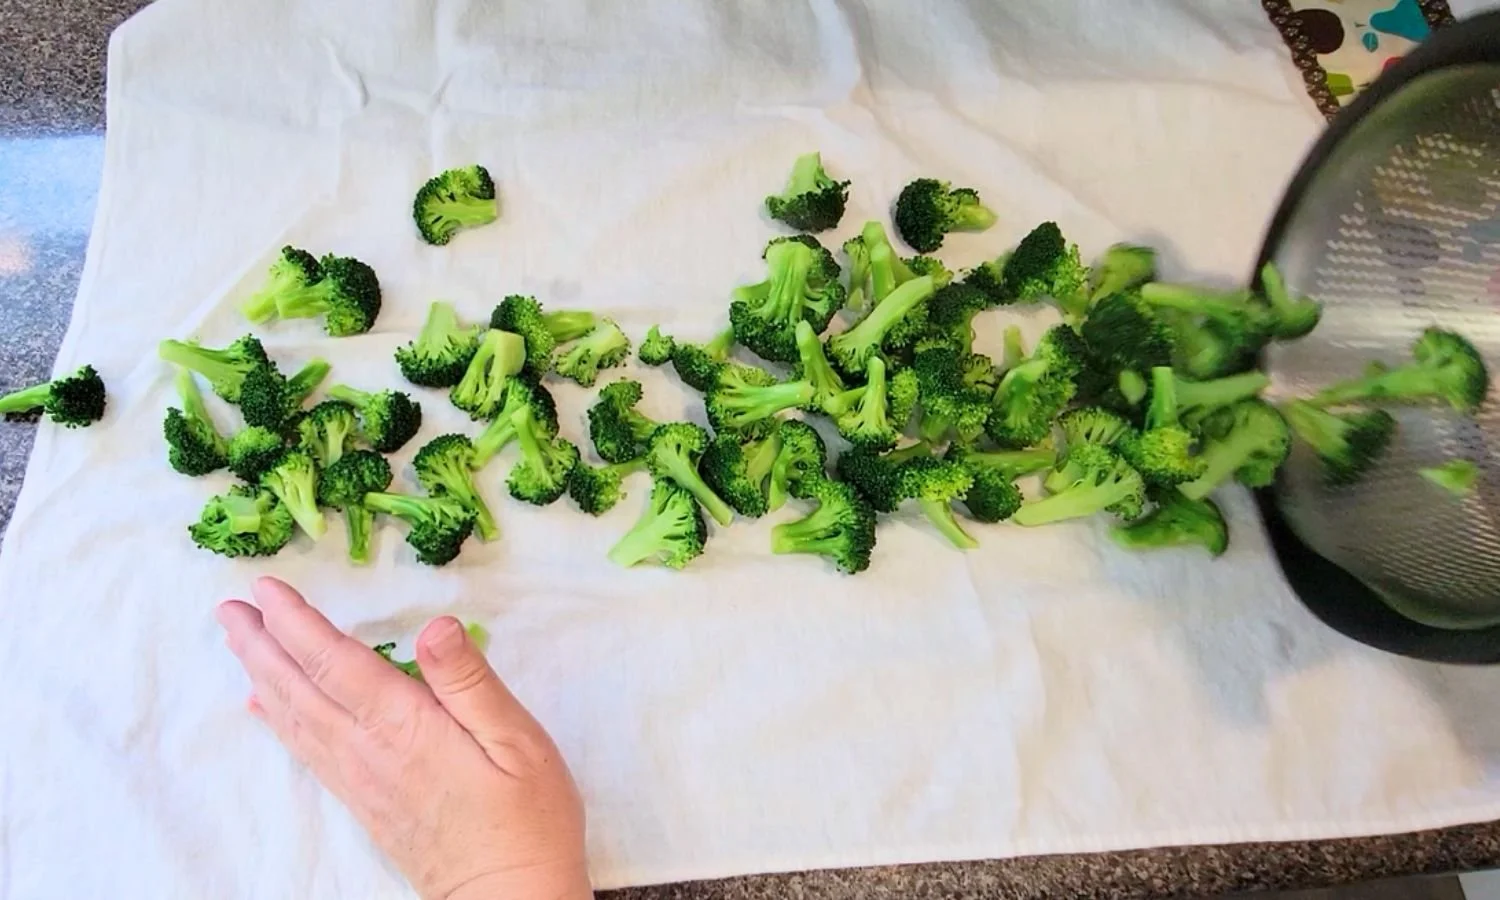
Blanching is the process of placing a vegetable in boiling water for a very short period or time, typically for seconds or minutes. This technique is usually followed by “shocking” where the vegetable is immediately plunged into ice water to stop the cooking process and preserve the color, flavor, and texture. I have found that the ice bath isn’t necessary with broccoli and instead I put out a clean tea towel or paper towels on the counter. As soon as I strain the vegetable, I lay it out on the towel to absorb the excess moisture and allow it to cool quickly.
Benefits of Blanching:
lightly cooks, making meal time easier and faster
preserves nutrients, color and texture
stops enzyme action that can cause loss of flavor, color, and texture over time. (This is why your vegetables start to get limp and yellow when they sit in the fridge too long. )
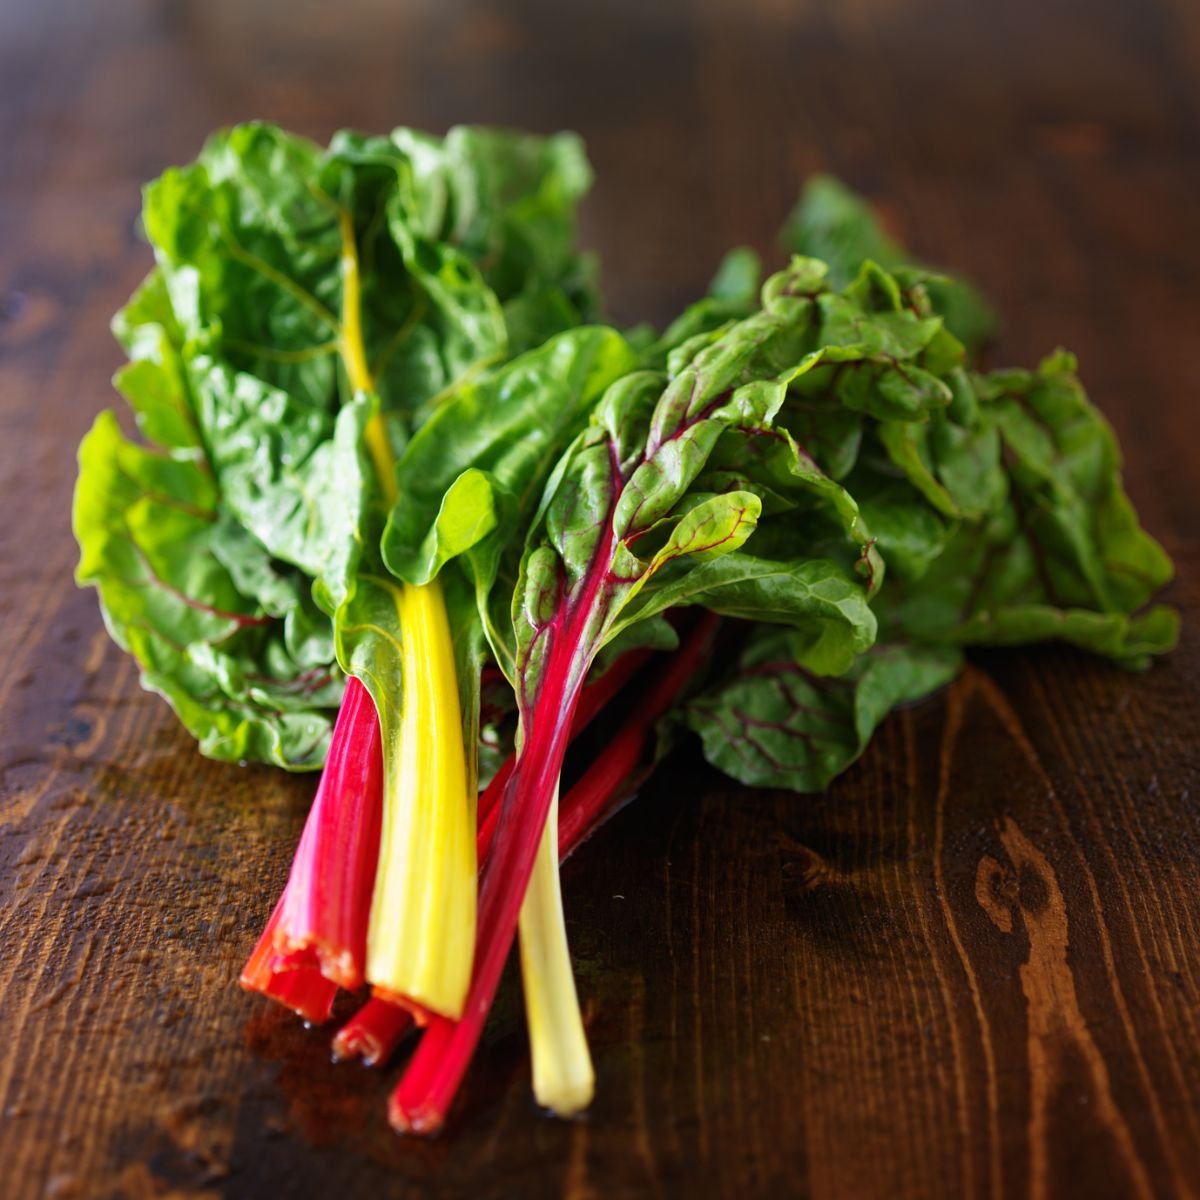
reduces the bitterness of greens like collards and swiss chard making them taste better
Ideal Veggies for Blanching
Green Beans
Broccoli
Swiss Chard
Collard Greens
Kale
Snap Peas
Essential Tools for Blanching:
Large pot
Spoon style strainer
Strainer
Bowls
Clean tea towel or paper towels
Small baking sheet (to place vegetables in the freezer) optional
How to Blanch Broccoli
1 to 2 large heads broccoli
Small paring knife
Cutting board
Pot for boiling water
Strainer
Towel for drying
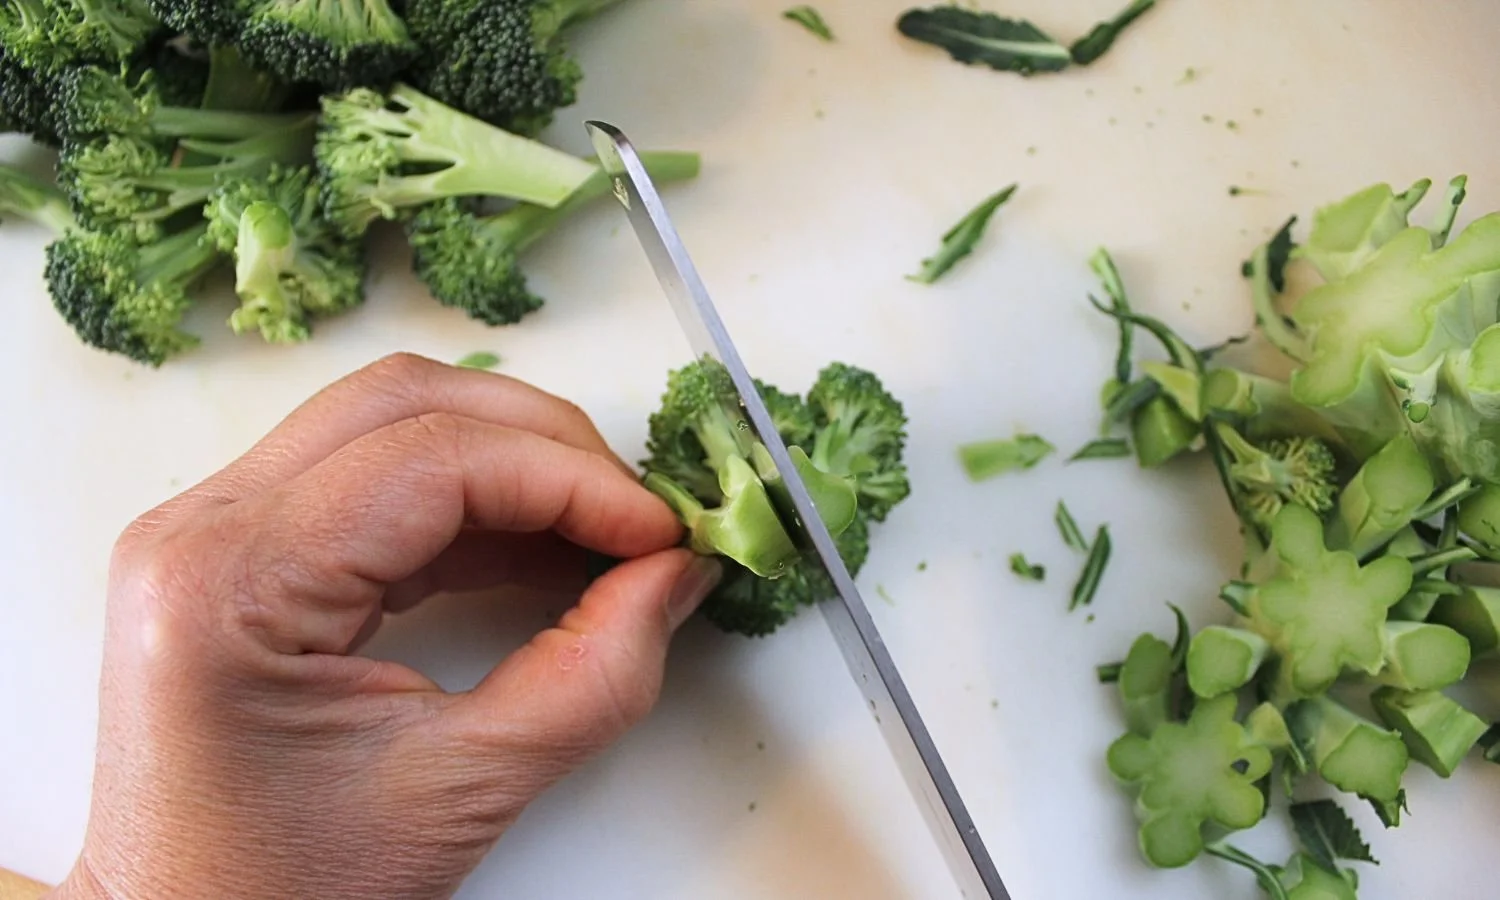
Trim the broccoli
Remove the hard bottom stems from your broccoli head, about 2 to 3 inches from the bottom. Cut through the "trunk" of each floret to make pieces that are all about the same size. Cut the broccoli stem as close to the crown as you can get, just where the larger stem starts to break into smaller stems. Then turn like the picture above and slice larger florets in half. Place these in a small bowl and run them under water to wash away any grit.
Blanch
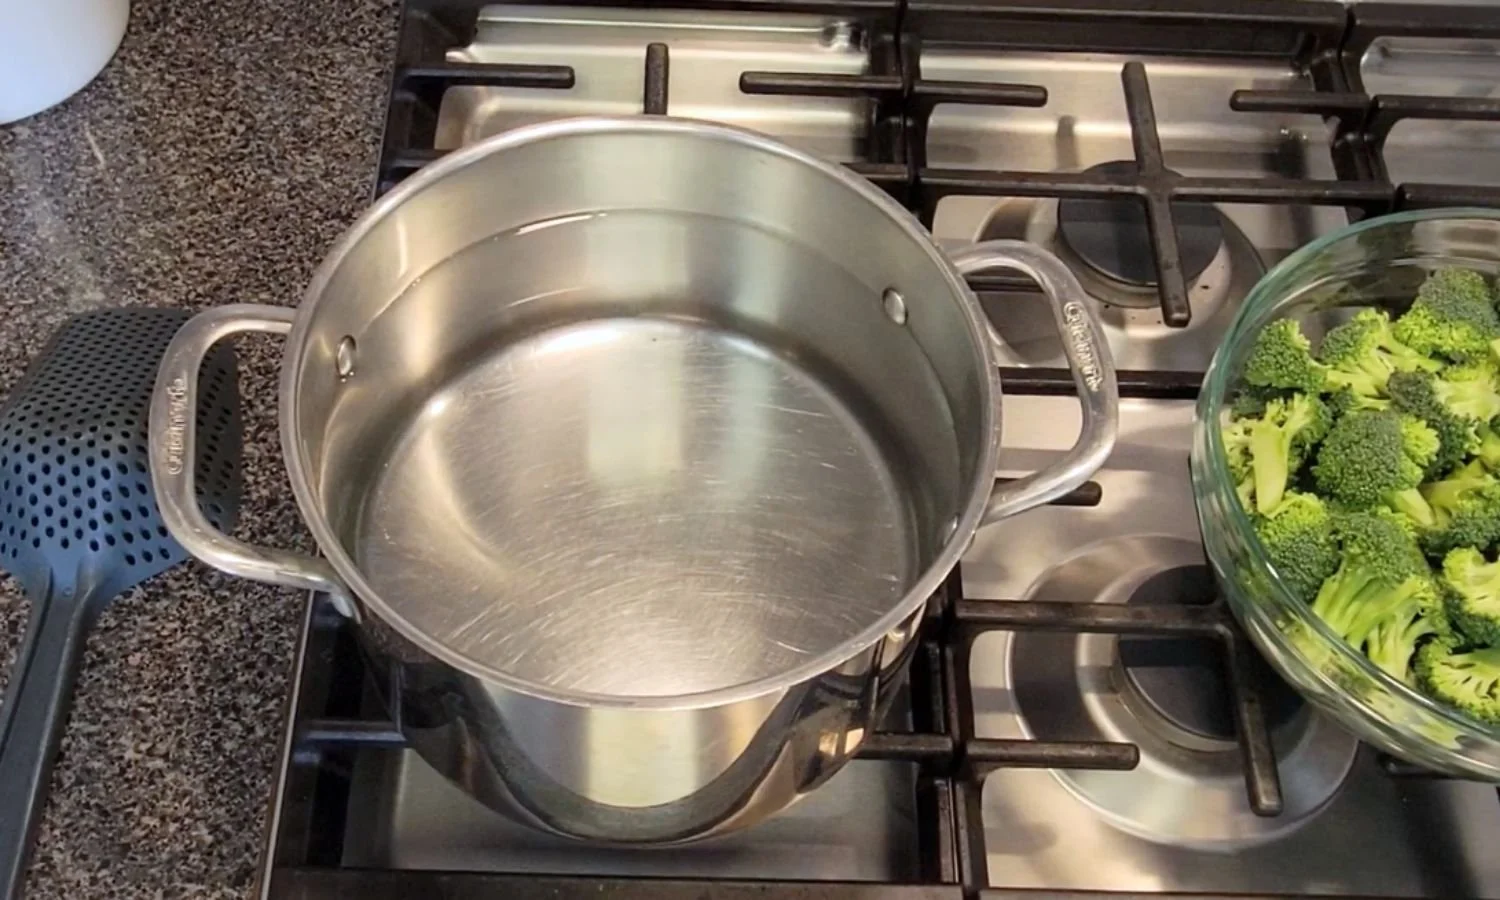
Bring a large pot of water to a rapid boil. If the pot is big enough to fit all the vegetables where they can be submerged, then place them all in at once. If the vegetables wont all fit without being crammed, do half at a time. Add a teaspoon of salt and the broccoli florets and cook until just tender, about 1 to 1 ½ minutes.
NOTE: This is the subjective part of the cooking process. You might like your broccoli really crisp and al dente, or maybe you want it more cooked and soft. The general rule here is to grab a fork and pierce a piece of the broccoli to see how cooked it is, and take it out of the water when it is done to your liking. For me, just as the water starts to come back to a boil, the broccoli is perfect, which is about 1 to 2 minutes from when the vegetables went into the pot. (The broccoli will only cook slightly more in the saute pan later)
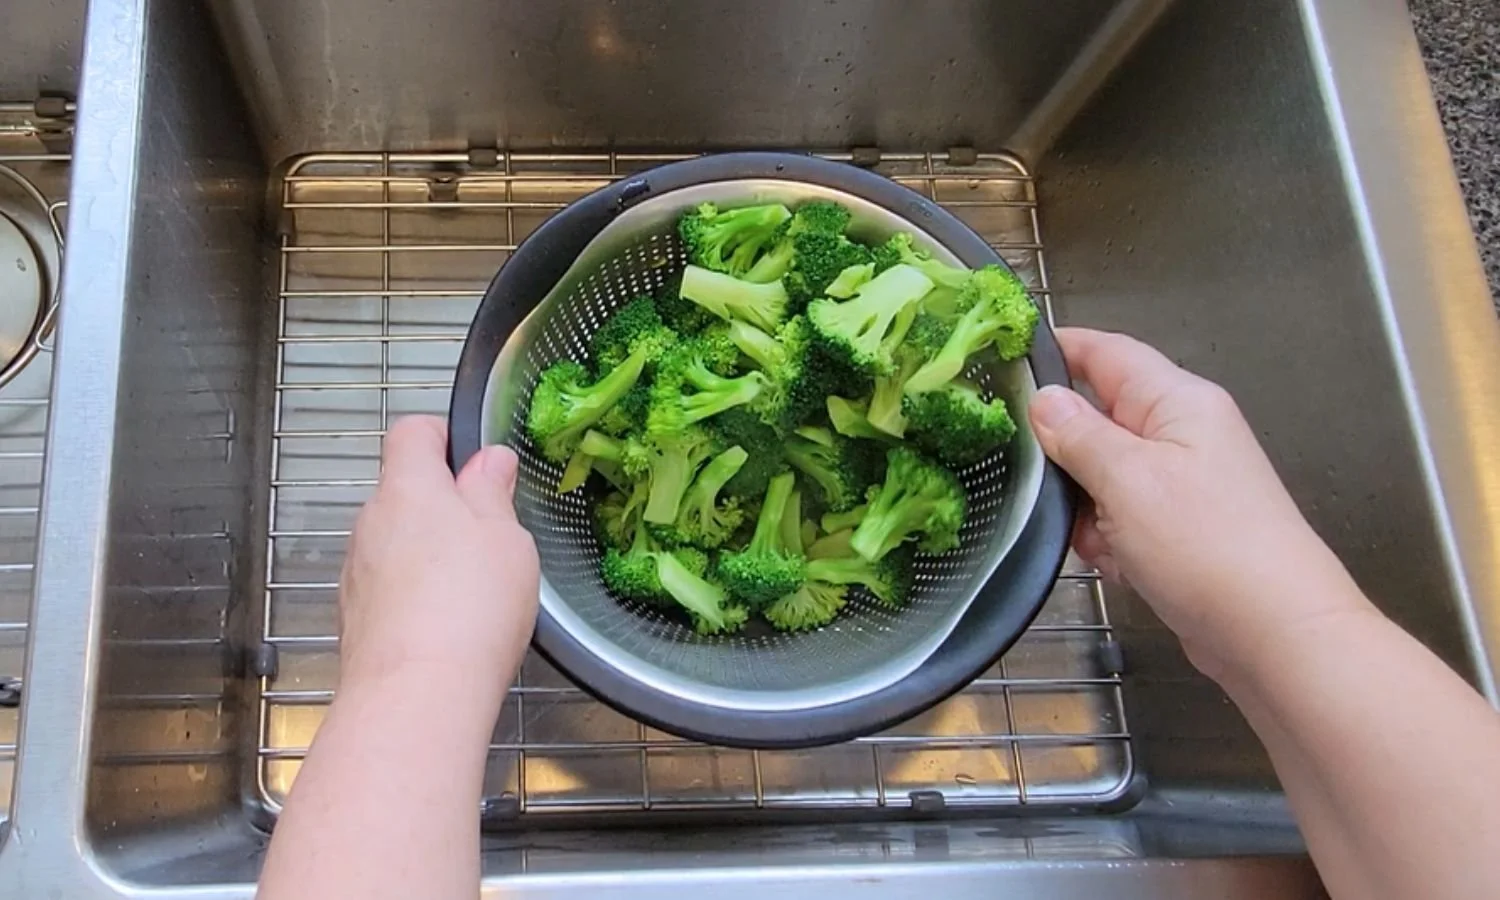
Remove with a slotted spoon and place in a colander.
Place pot back on the stove and bring the water back to a boil. Repeat steps with the remaining broccoli if needed.
NOTE: After I strain the broccoli, I shake the colander over the sink until most of the water has come out. Then I place some paper towels on the counter and dump the broccoli onto the paper towels in a single layer. This helps to get the remaining water out and lets the broccoli cool quickly, and not be mushy!
How to use Blanched Vegetables All Week
Quick dinner side dish. Just take the veggie out of the fridge, heat up a pan with some olive oil and chopped garlic and add the veggies and you’ve got a side dish in about 5 minutes.
Make a stir-fry with some chopped onions, carrots, chicken or beef and throw in the blanched green beans or broccoli at the end!
Scrambles - this is how I use broccoli almost every day. I take a few pieces out, chop it up and add it to my eggs.
Add Flavor Boosters when you reheat blanched veggies:
grate some lemon zest over the vegetable before serving
add minced garlic (like in my previous recipe)
sprinkle your favorite spice blend over the veg while sauteing
save some cooked bacon or sausage from breakfast and heat it up with the veg while prepping dinner
Once you blanch a bunch of broccoli, there are so many other ways to use it. Use it in recipes like these Broccoli and Zucchini Fritters.
You can also add cooked broccoli into a breakfast frittata or quiche, check out my Dairy Free Vegetable Frittata recipe.
This cooked broccoli stays fresh in the fridge for a really long time when it is left plain like this
Printer-Friendly Recipe

How to Blanch Broccoli
Broccoli is a great vegetable that's easy to prepare and has a mild flavor. This is a handy meal prep method that lightly cooks and softens the broccoli so it's ready to saute for a meal later.
Ingredients
- 1 to 2 large heads broccoli
- 1 teaspoon salt
- Medium paring knife
- Cutting board
- Pot for boiling water
- Strainer
- Clean tea towel or 4 paper towels
Instructions
- Place broccoli head on cutting board on its side. Remove the hard bottom, about 2 to 3 inches from the bottom. Cut the broccoli stem again close to the crown, just where the larger stem starts to break into smaller stems. Then trim into smaller florets using the natural breaks in each floret. Cut any larger florets in half so they all are similar in size. (The extra stalk can be trimmed and eaten by cutting off the tougher outer layer).
- Place florets in a bowl and run under water to wash away any grit.
- Bring a large pot of water to a rapid boil. Add a teaspoon of salt and the florets and cook until just tender, about 1 to 2 minutes. If the pot is big enough to fit all the florets where they can be submerged, then place them all in at once. If the vegetables won't all fit without being crammed, do half at a time.
- Test with a fork that it pierces, but florets are still firm, remove with a slotted spoon and place in a colander to drain.
- Place pot back on the stove and bring the water back to a boil. Repeat steps with the remaining broccoli if needed.
- Drain broccoli in a colander and then place on a clean cotton towel on the counter or paper towels to absorb excess water and allow to rapidly cool.
- Store cooled broccoli in an air tight container for up to 5 days in the fridge.