
Chocolate Chia Seed Pudding
This Chocolate Chia Seed Pudding is a decadent and brain healthy breakfast, snack or dessert made with simple ingredients. Chia seeds are high in fiber and healthy fats and create a gel-like consistency after a few hours in the fridge. This is an easy to make, no equipment needed and naturally sweetened and contains 3 grams of protein and 4.6 grams of fiber per serving.
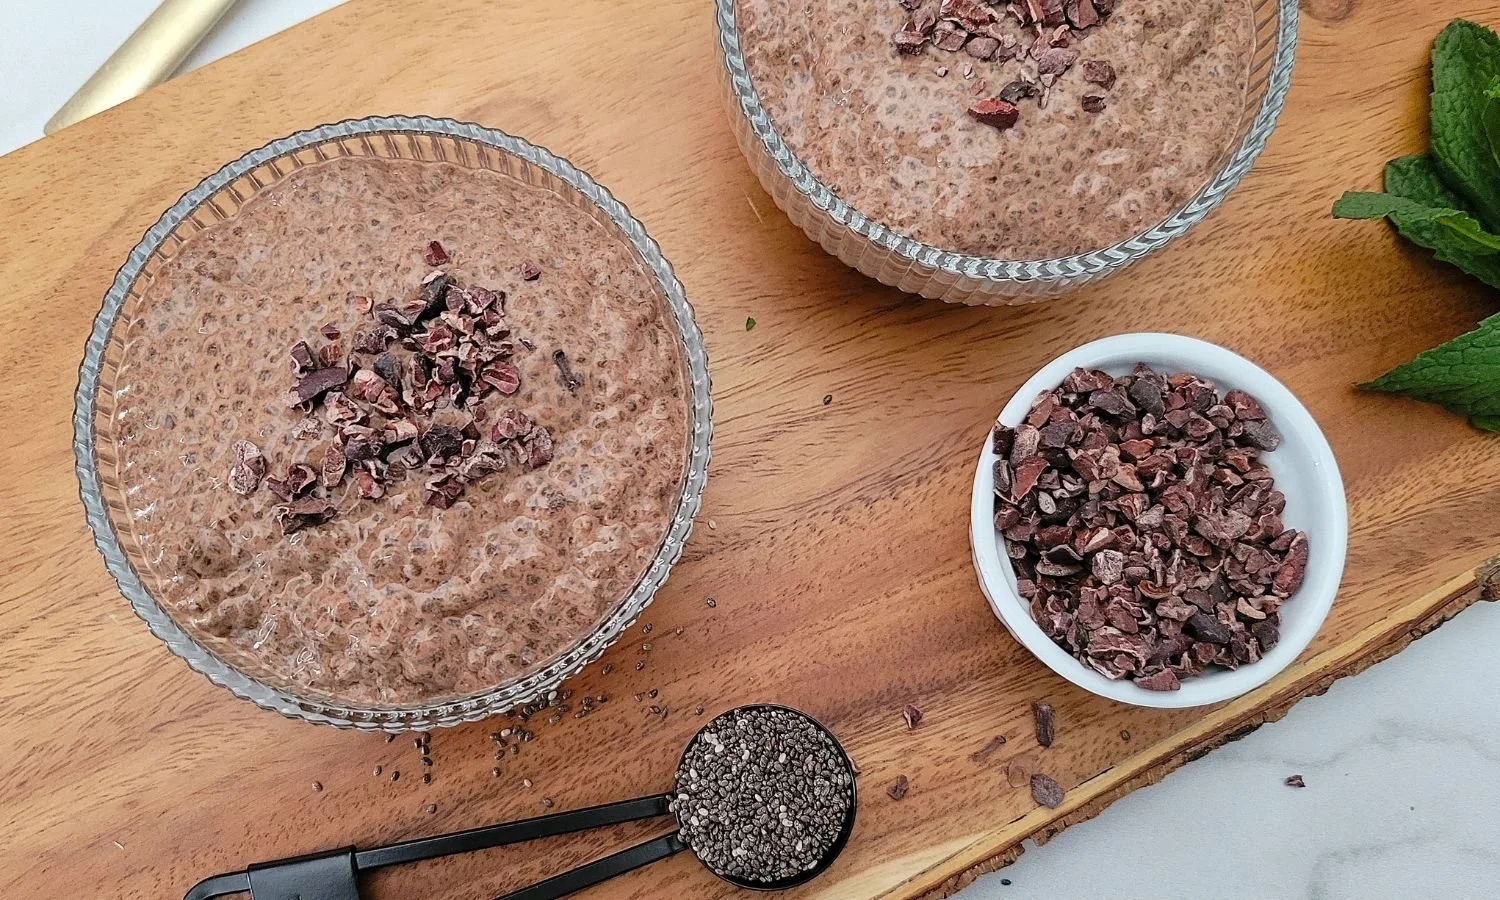
Chocolate just seems to go with chia seeds like they were made for each other. For anyone that loves the flavor of chocolate this is a great way to get the craving satisfied and also enjoy some great nutritional benefits.
This is a recipe that needs to be made ahead of time. The chia seeds create a gel around them when soaked in liquid. That gel takes a couple hours to fully form. You can get a good consistency in about 3 hours, but I prefer to let them sit overnight.
I’ve added a step to go back and stir your chia pudding after a couple hours. This helps to make sure all the chia seeds are well mixed and not clumped together. You can do this step after about 30 minutes of it sitting.
Why You’ll Love This Chia Pudding
Great chocolate flavor
You control the sweetness with how much maple syrup you add in
It has healthy fats and tons of fiber
Chia seeds contain all nine essential amino acids which makes it a great protein source
Ingredients You’ll Need
1 ½ cups milk - I used unsweetened almond milk, all milks work well here
3 tablespoons maple syrup - a natural sweetener which adds to the mineral content too
2 tablespoons cocoa powder - use a high quality powder here since this is most of the flavor
¼ teaspoon vanilla extract - enhances the flavors
Pinch salt - salt always enhances the sweetness, especially for chocolate
Pinch cinnamon
¼ cup chia seeds
Makes 2 cups or 4 servings
How to Make Chia Pudding
Place all of the ingredients in a medium bowl except the chia seeds. Whisk until well blended.
Add the chia seeds to the milk and stir to fully incorporate all the seeds into the liquid.
Cover and place the bowl in the refrigerator. Set a timer for 2 hours and go back and stir your chia pudding. This ensures that all of your chia seeds are separated and coated in the liquid, which will help them to release their gel and avoid any crunchy clumps later.
Cover again and let sit another 3 hours in the fridge. (I prefer overnight for the gel to completely form). Stir again, and spoon into serving jars or small bowls. Top with fresh berries, cacao nibs, granola or shredded coconut, or just enjoy plain!
Variations for Chia Pudding
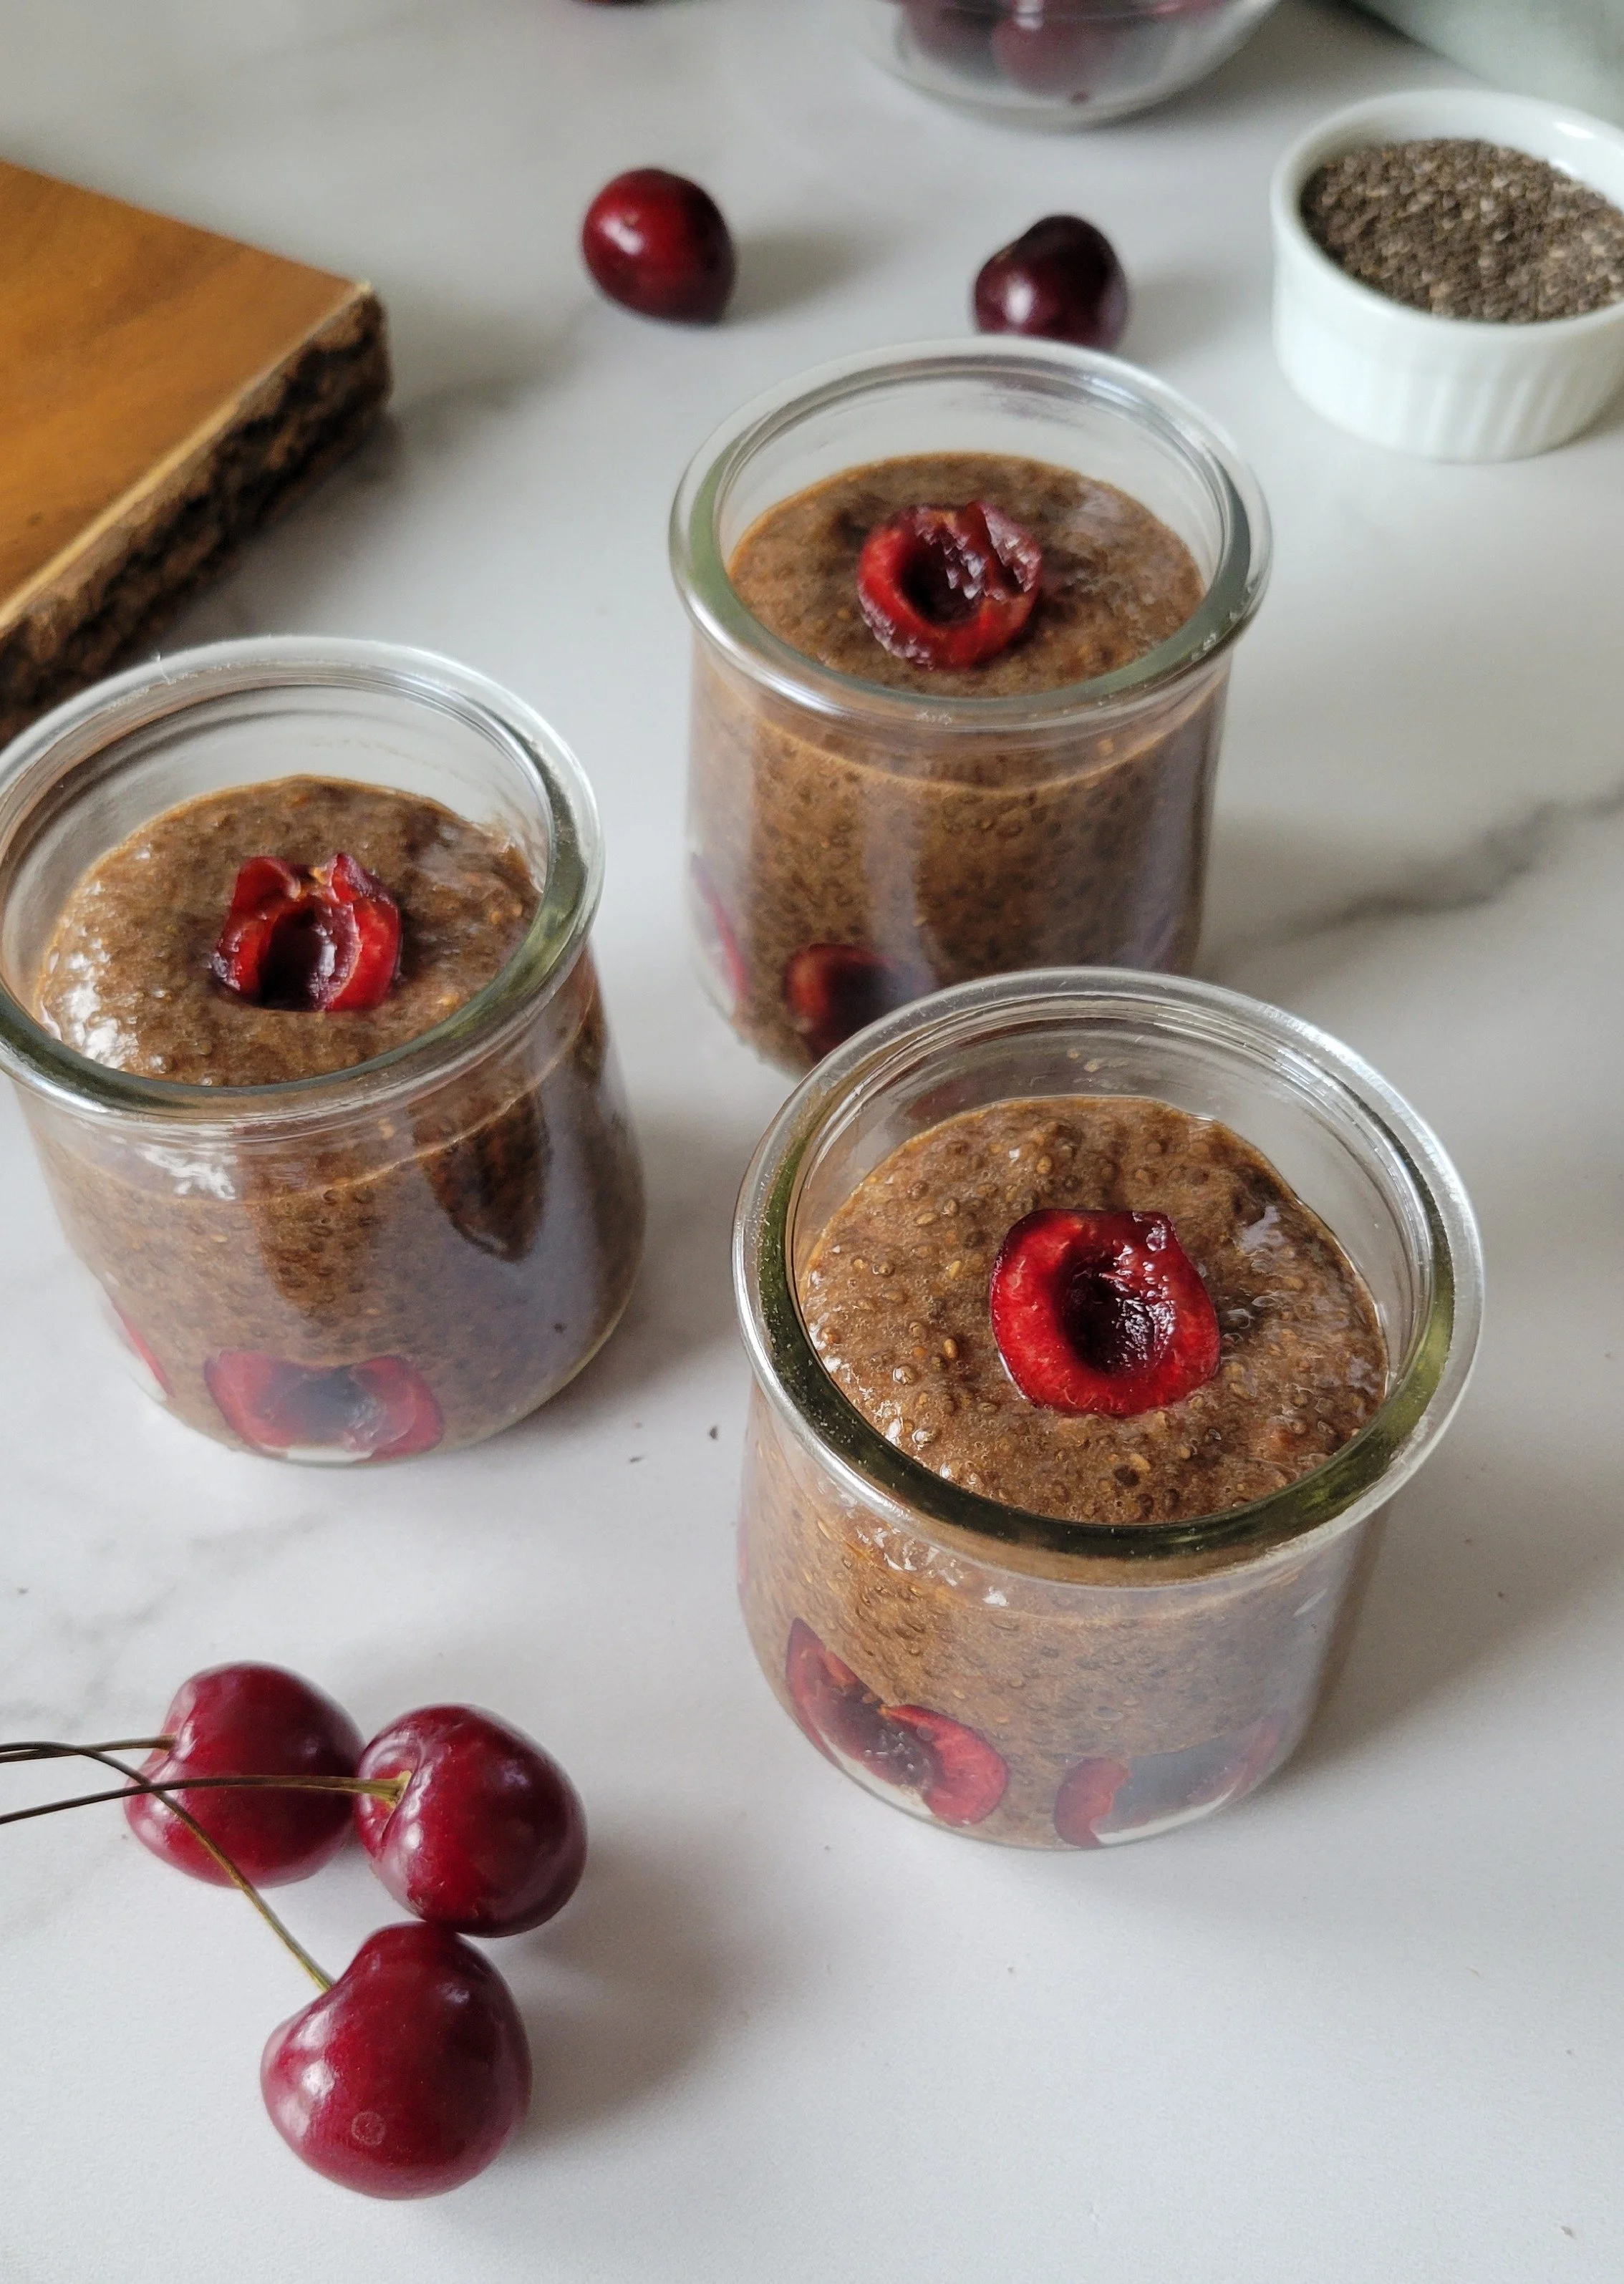
Cocoa Cherry - place 1 ¾ cup milk and 6 to 8 cherries in a blender and blend until smooth. Use this cherry milk as the milk in the recipe below. Chop up some cherries and place on top. You can leave in the cocoa
Blueberry Chia - do the same step as above, blend 1 ¾ cup milk with ½ cup blueberries, then mix with the rest of the ingredients, leaving out the cocoa powder.
These are Oui Yoplait yogurt jars! They are 5 oz, perfect for small desserts like this and I use them all the time. My sister-in law got me hooked on them.
Printer-Friendly Recipe

Chocolate Chia Pudding
Chocolate just seems to go with chia seeds like they were made for each other. This recipe needs to be made ahead, so give yourself at least 3 hours, or overnight is best to let it gel completely.
Ingredients
- 1 ½ cups unsweetened almond milk
- 3 tablespoons maple syrup
- 2 tablespoons cocoa powder
- ¼ teaspoon vanilla extract
- pinch salt
- pinch cinnamon
- ¼ cup chia seeds
Instructions
- Place all of the ingredients in a medium bowl except the chia seeds. Whisk until well blended.
- Add the chia seeds to the milk and stir to fully incorporate all the seeds into the liquid.
- Cover and place the bowl in the refrigerator. Set a timer for 2 hours and go back and stir your chia pudding. This ensures that all of your chia seeds are separated and coated in the liquid, which will help them to release their gel and avoid any crunchy clumps later.
- Cover again and let sit another 3 hours in the fridge. (I prefer overnight for the gel to completely form). Stir again, and spoon into serving jars or small bowls. Top with fresh berries, cacao nibs, granola or shredded coconut, or just enjoy plain!
Want more healthy dessert recipes?
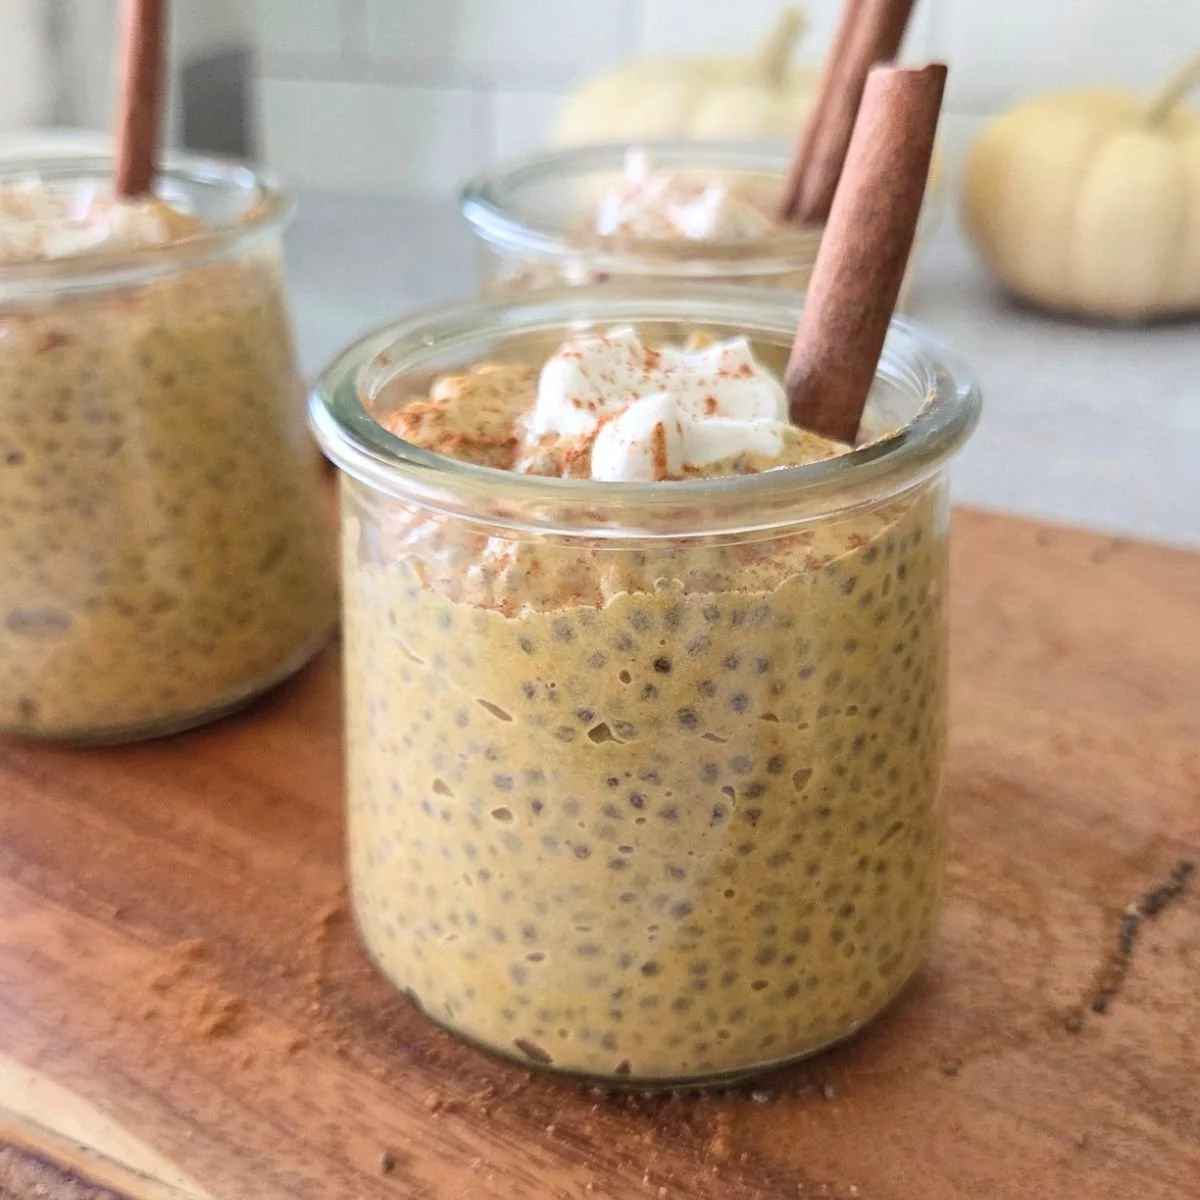
Pumpkin Chia Pudding
Another great flavor to use for your chia pudding
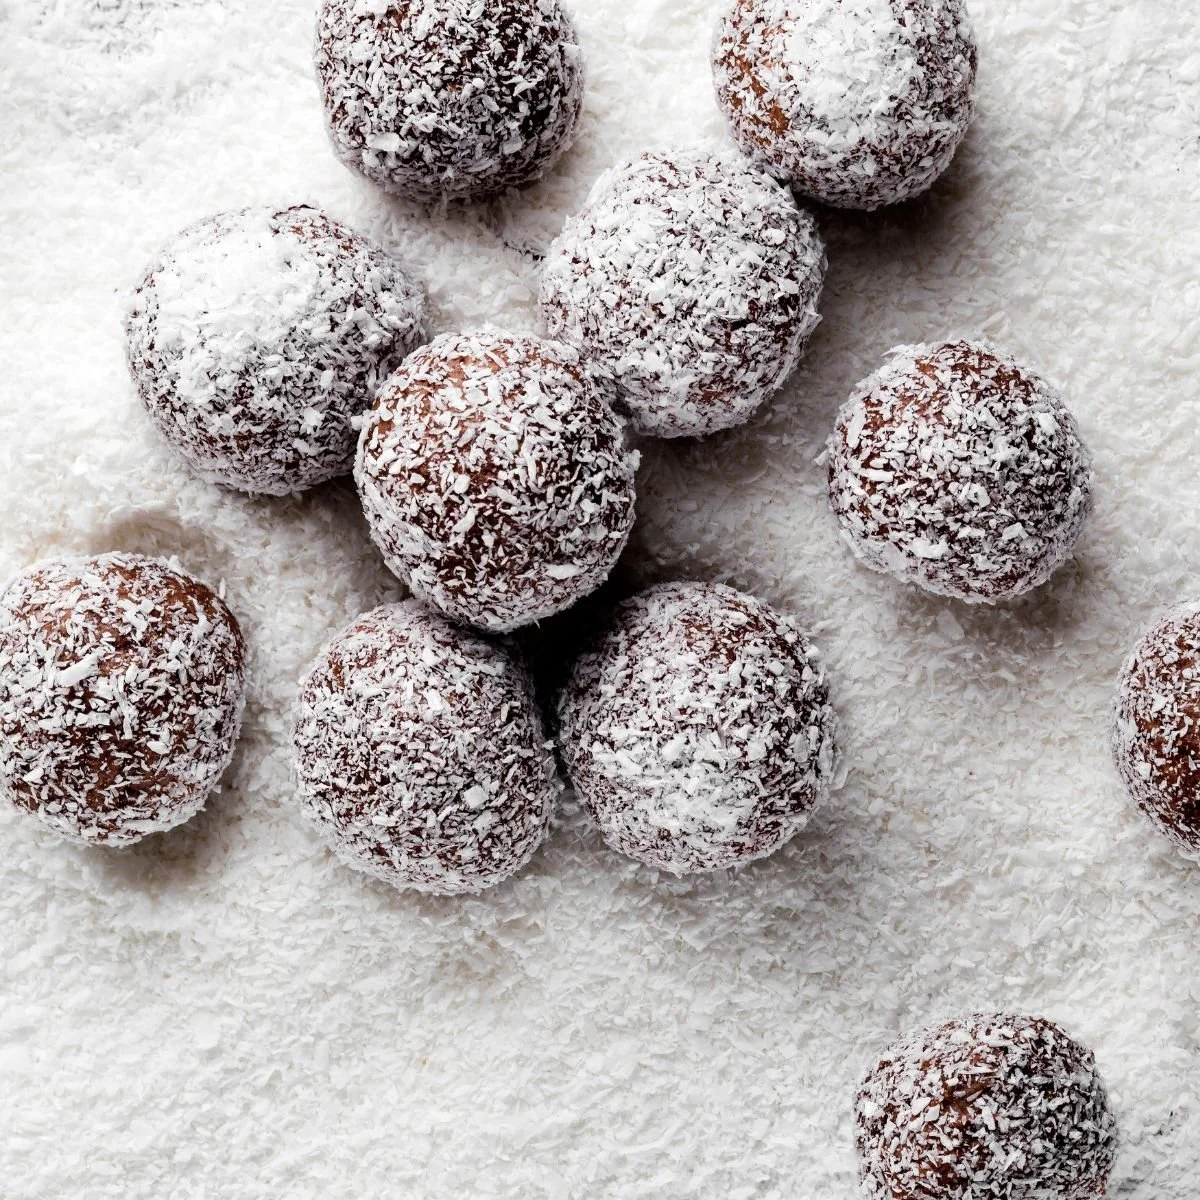
Healthy Chocolate Truffles
Just a few ingredients and comes together in the food processor
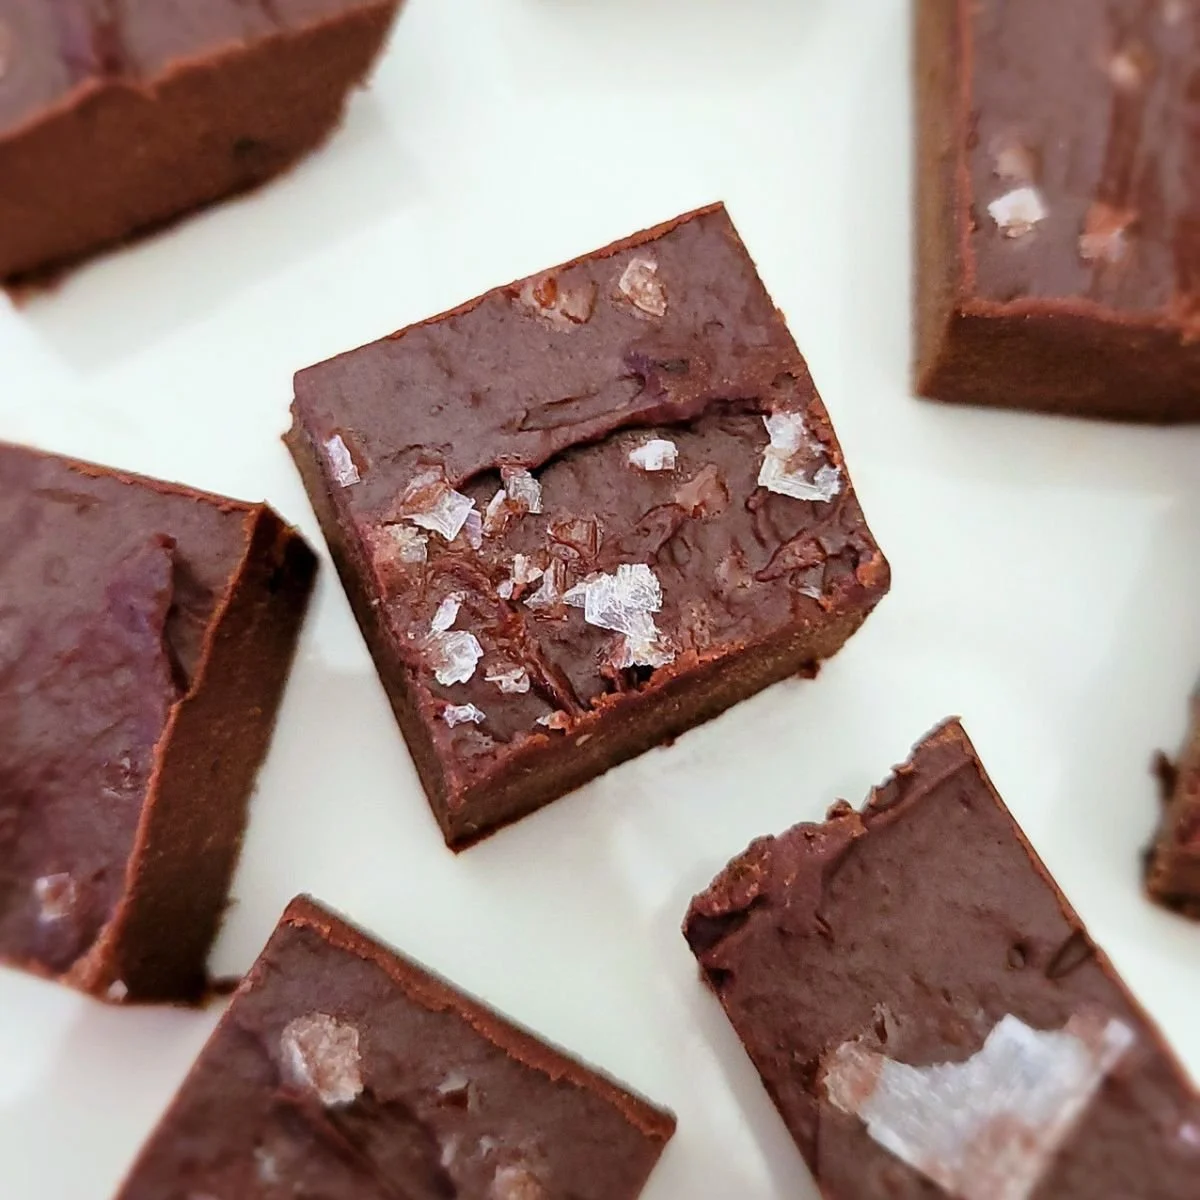
Vegan Chocolate Fudge
Easy to make and no cooking and all natural sweeteners
*Please note, some of the links on this site are affiliate links. As an Amazon Associate I can earn from qualifying purchases, at no additional cost to you. All of the products on my site are actually used by me. I do not recommend anything that is not in my own kitchen and used in these recipes. I am showing you what I use and providing easy links to those products so that you may get the same great results in your own kitchen.